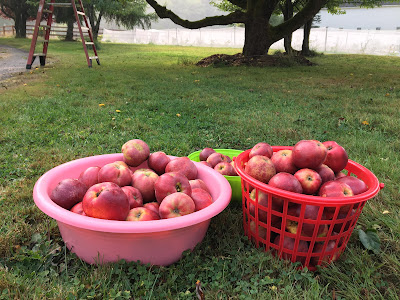
We were clued in by the deer that it was time to pick our apples. Mama deer was standing on her hind legs knocking 5 to 6 apples down at a time so all the baby deer could feast. To check and see if they were ripe, we ate an apple that very night, and sure enough, our tart and juicy apples were ready to harvest. So I got out there the next morning and picked all the apples from the tree. We are excited this year to make apple pie filling, applesauce and apple cider! First step today was to make the apple pie filling, which I decided to put into quart jars for water bath canning.
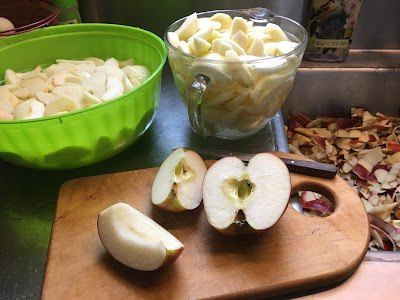
Paring the apples is a tedious chore and one I prefer to do with a knife so as to remove all of the tough bits of core. I soaked the apple slices in a citric acid and water solution to keep them from browning.
Here is a link to the apple pie filling recipe that I use from the National Center for Home Food Preservation. I prefer to use recipes such as these for canning in order to make sure the food is safe and shelf stable. The recipe that I followed said it made 7 quarts, however, I set aside about a quart's worth for baking a pie that day. The remaining 6 quarts were put into the canner. (Note: if you only want to make one pie right away, there is a recipe there for doing so in the link above.)
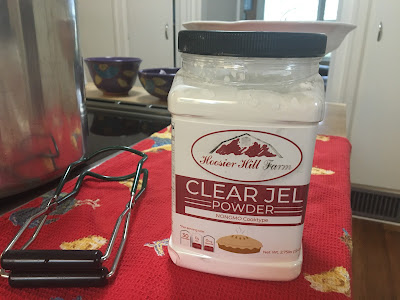
I wanted to make note that this recipe uses Clear Jel, which is similar to cornstarch. Clear Jel is amazing and makes the best pies! Below is the Non-GMO Cooktype Clear Jel that I ordered online from Hoosier Hill Farm (here's a link to where to order). I've also used Clear Jel when making sour cherry pie filling for canning.
Even though I used a funnel and was careful, I still had a bit of a mess to clean up on the rims of the jars. I wiped the rims and all around the outsides of the jars with a wet washcloth to clean off the sticky mess, and then I got another clean rag soaked in distilled white vinegar to do a final wipe of the rims. It's really important that the rims are spotlessly clean to make sure that the jars will get a good seal.
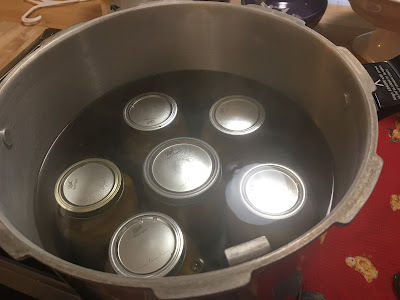
I've been using my pressure canner pot for water bath canning. I put the lid from the water bath canner upside down on top.


Comments
Post a Comment
Thank you so much for submitting a comment! All comments are reviewed by our moderator before being posted to the blog, in an effort to help control spam.